Joined Jun 2009
3K Posts | 3+
North East Ricoland
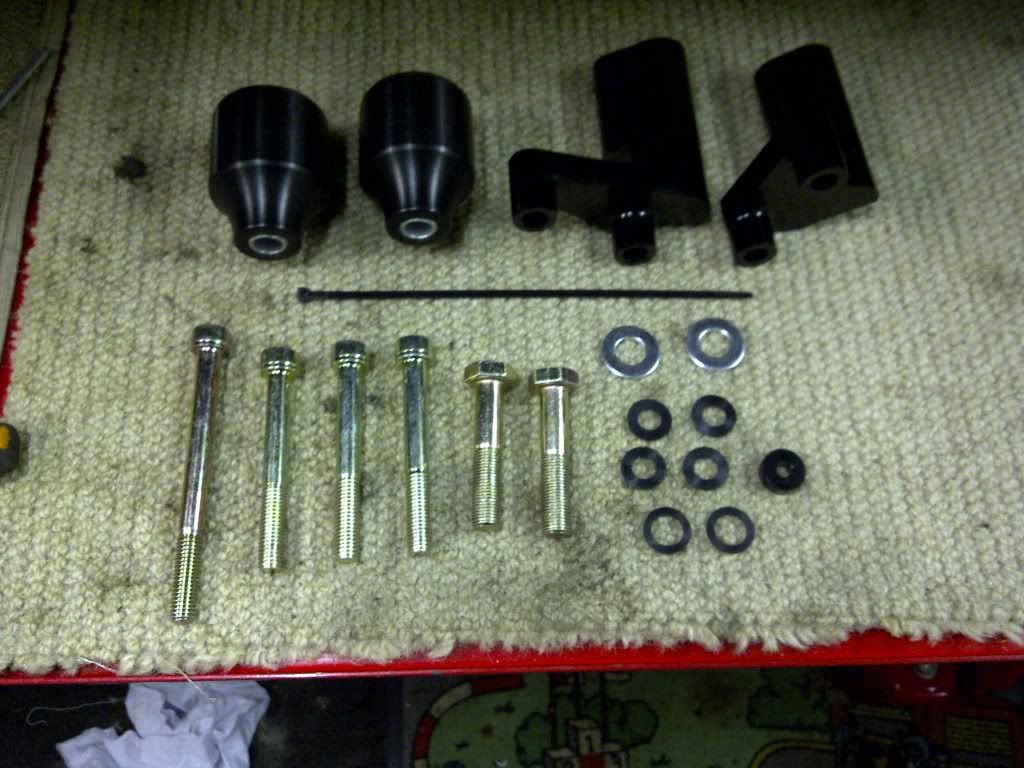
Awright loons.. splashed oot oan a full set o they sexy R&G crash protectors,
Front upper set
rear lower set
Front fork set
So ah thought ah wid pit doon how it went in fitting them and a couple o wee pointers ah found fur any one else thinkin o fitting them.
First prob!.. the instructions I got were all in French wi nae English ones at all an wir rattlin oan aboot 04 RSVs. Also couldn,t find any tae down load frae R&G website either!
Anyroads..
Tools used,
12mm,15mm, 17mm ring spanners, 10mm,13mm,19mm socket, 3mm, 4mm, 8mm allen keys, ratchet,
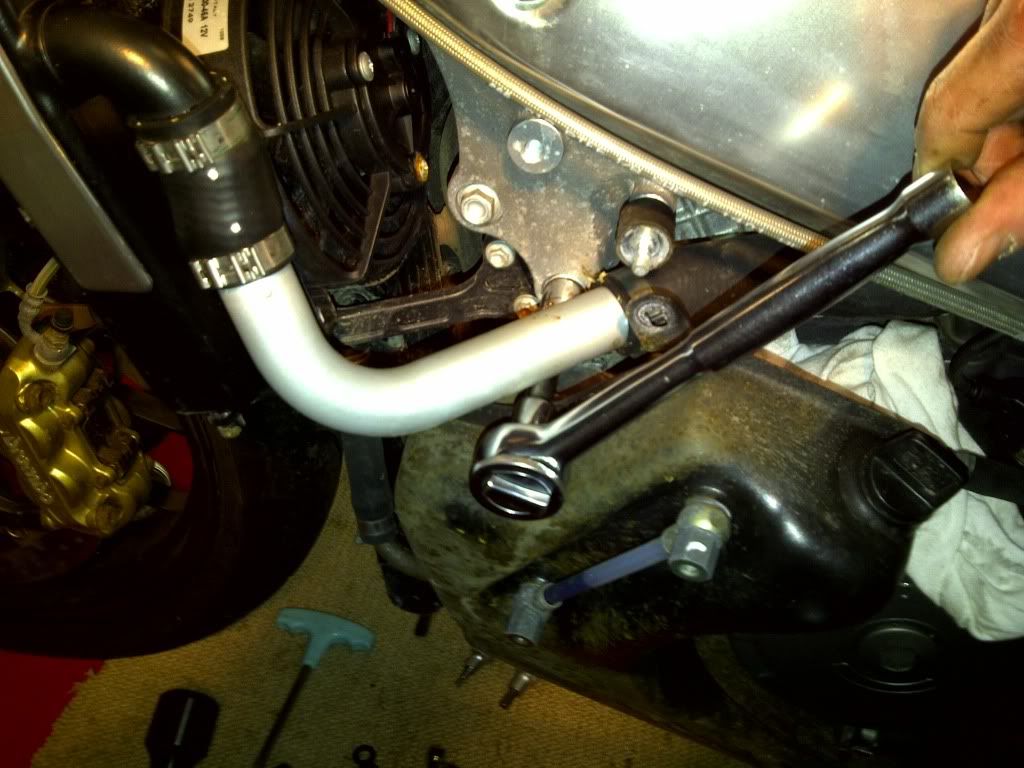
Note the socket for the actual bung bolt needs to be quite thin sided as the bore is quite nippit. I had to use the one from my 1/4" drive socket set as it was lighter made than the 1/2" drive one.

So,gettin started, the front fork ones, dead easy so no need to say much other than coat all the parts hidden in the axles wi some copper slip tae protect from corrosion (shouldn,t be needed but it will help)
Lower rear ones next...note the difference in diameter of the small ends, larger is right hand, smaller is left hand (as you sit on bike)

RHand - Remove the lower engine bolt using socket on bolt and 15mm spanner on inside of the frame

You can get better spanner access if you remove the heat shield off the exhaust. 3mm allen key.

Note the R&G threaded rods have different thread so you cant re-use the nuts.

Take the nut off the short end of the threaded bar then insert thru frame to screw into nut. The long thread end goes into frame. I found using some duct tape on the back of the 17mm spanner to hold the nut in made all the difference as there is no room to get your hand in.

There is also a washer, which again I taped to the spanner to hold it on while pickin up the thread o the nut. Worked a treat!
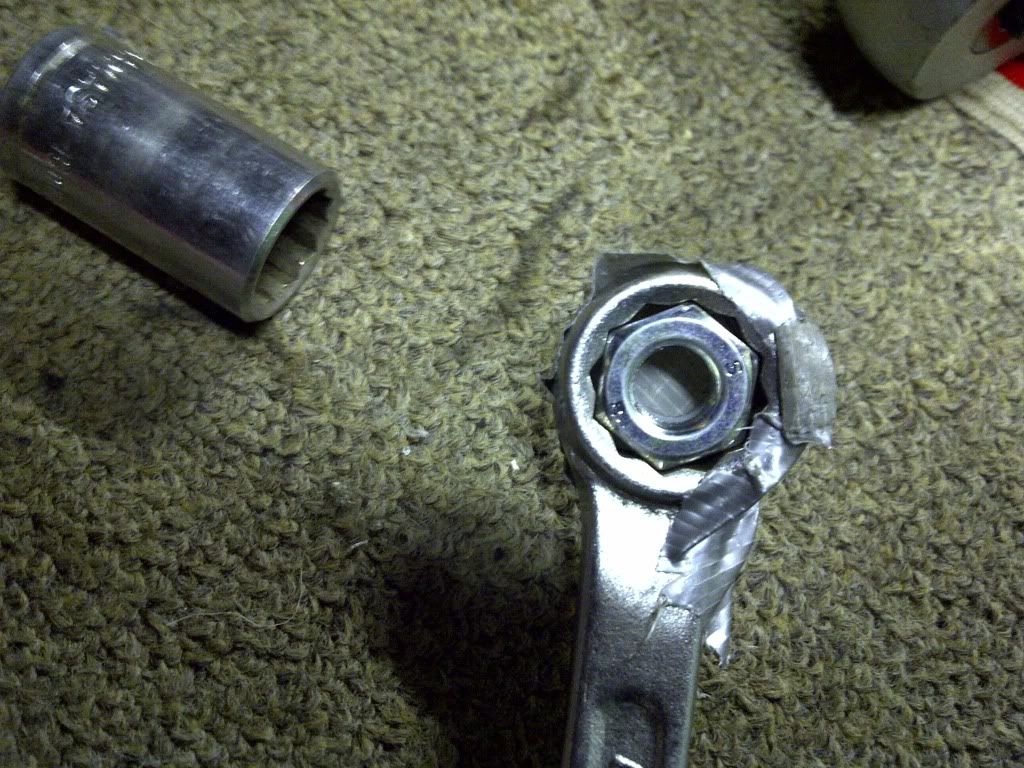
Once you have a few threads on the nut slide the bung on and fit the nut ( it should be on the shorter of the threaded ends)


Nip up the nuts until all is tight and good. Replace heat shield.
L Hand - pretty much the same as RH side. This is the bung with the smaller end diameter.


Again a wee bit o tape helps holds the nut on while ye screw in the rod.
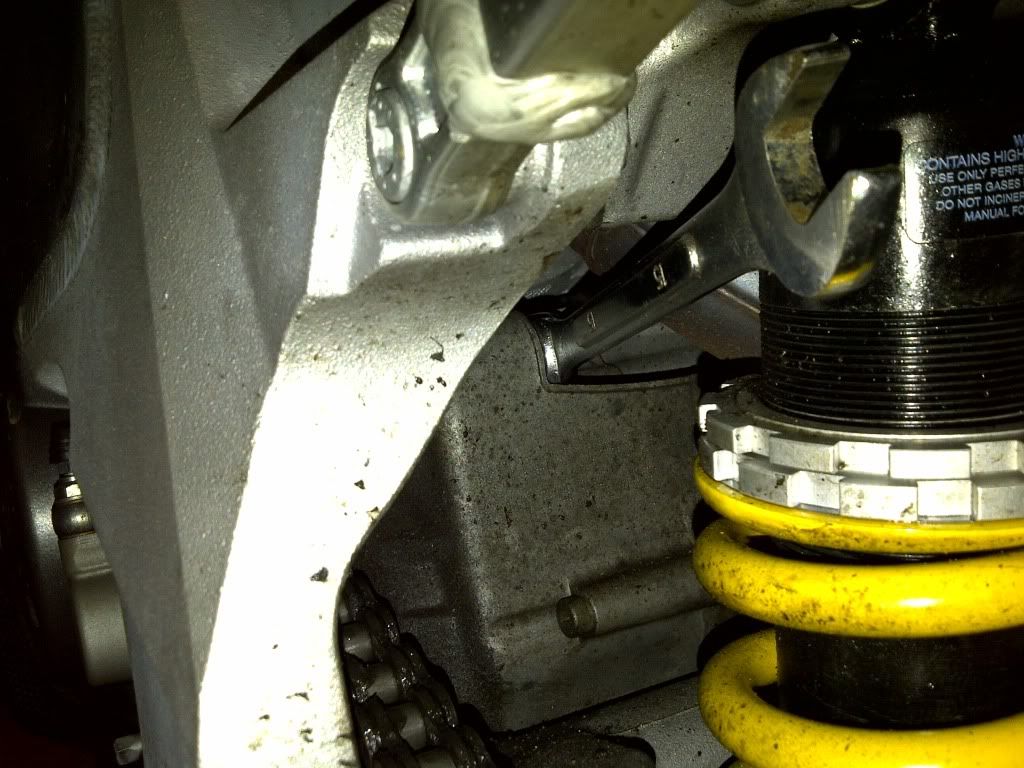
Jobs done!

part two next post......
Front upper set
rear lower set
Front fork set
So ah thought ah wid pit doon how it went in fitting them and a couple o wee pointers ah found fur any one else thinkin o fitting them.
First prob!.. the instructions I got were all in French wi nae English ones at all an wir rattlin oan aboot 04 RSVs. Also couldn,t find any tae down load frae R&G website either!
Anyroads..
Tools used,
12mm,15mm, 17mm ring spanners, 10mm,13mm,19mm socket, 3mm, 4mm, 8mm allen keys, ratchet,
Note the socket for the actual bung bolt needs to be quite thin sided as the bore is quite nippit. I had to use the one from my 1/4" drive socket set as it was lighter made than the 1/2" drive one.

So,gettin started, the front fork ones, dead easy so no need to say much other than coat all the parts hidden in the axles wi some copper slip tae protect from corrosion (shouldn,t be needed but it will help)
Lower rear ones next...note the difference in diameter of the small ends, larger is right hand, smaller is left hand (as you sit on bike)

RHand - Remove the lower engine bolt using socket on bolt and 15mm spanner on inside of the frame

You can get better spanner access if you remove the heat shield off the exhaust. 3mm allen key.

Note the R&G threaded rods have different thread so you cant re-use the nuts.

Take the nut off the short end of the threaded bar then insert thru frame to screw into nut. The long thread end goes into frame. I found using some duct tape on the back of the 17mm spanner to hold the nut in made all the difference as there is no room to get your hand in.

There is also a washer, which again I taped to the spanner to hold it on while pickin up the thread o the nut. Worked a treat!

Once you have a few threads on the nut slide the bung on and fit the nut ( it should be on the shorter of the threaded ends)


Nip up the nuts until all is tight and good. Replace heat shield.
L Hand - pretty much the same as RH side. This is the bung with the smaller end diameter.


Again a wee bit o tape helps holds the nut on while ye screw in the rod.

Jobs done!

part two next post......

